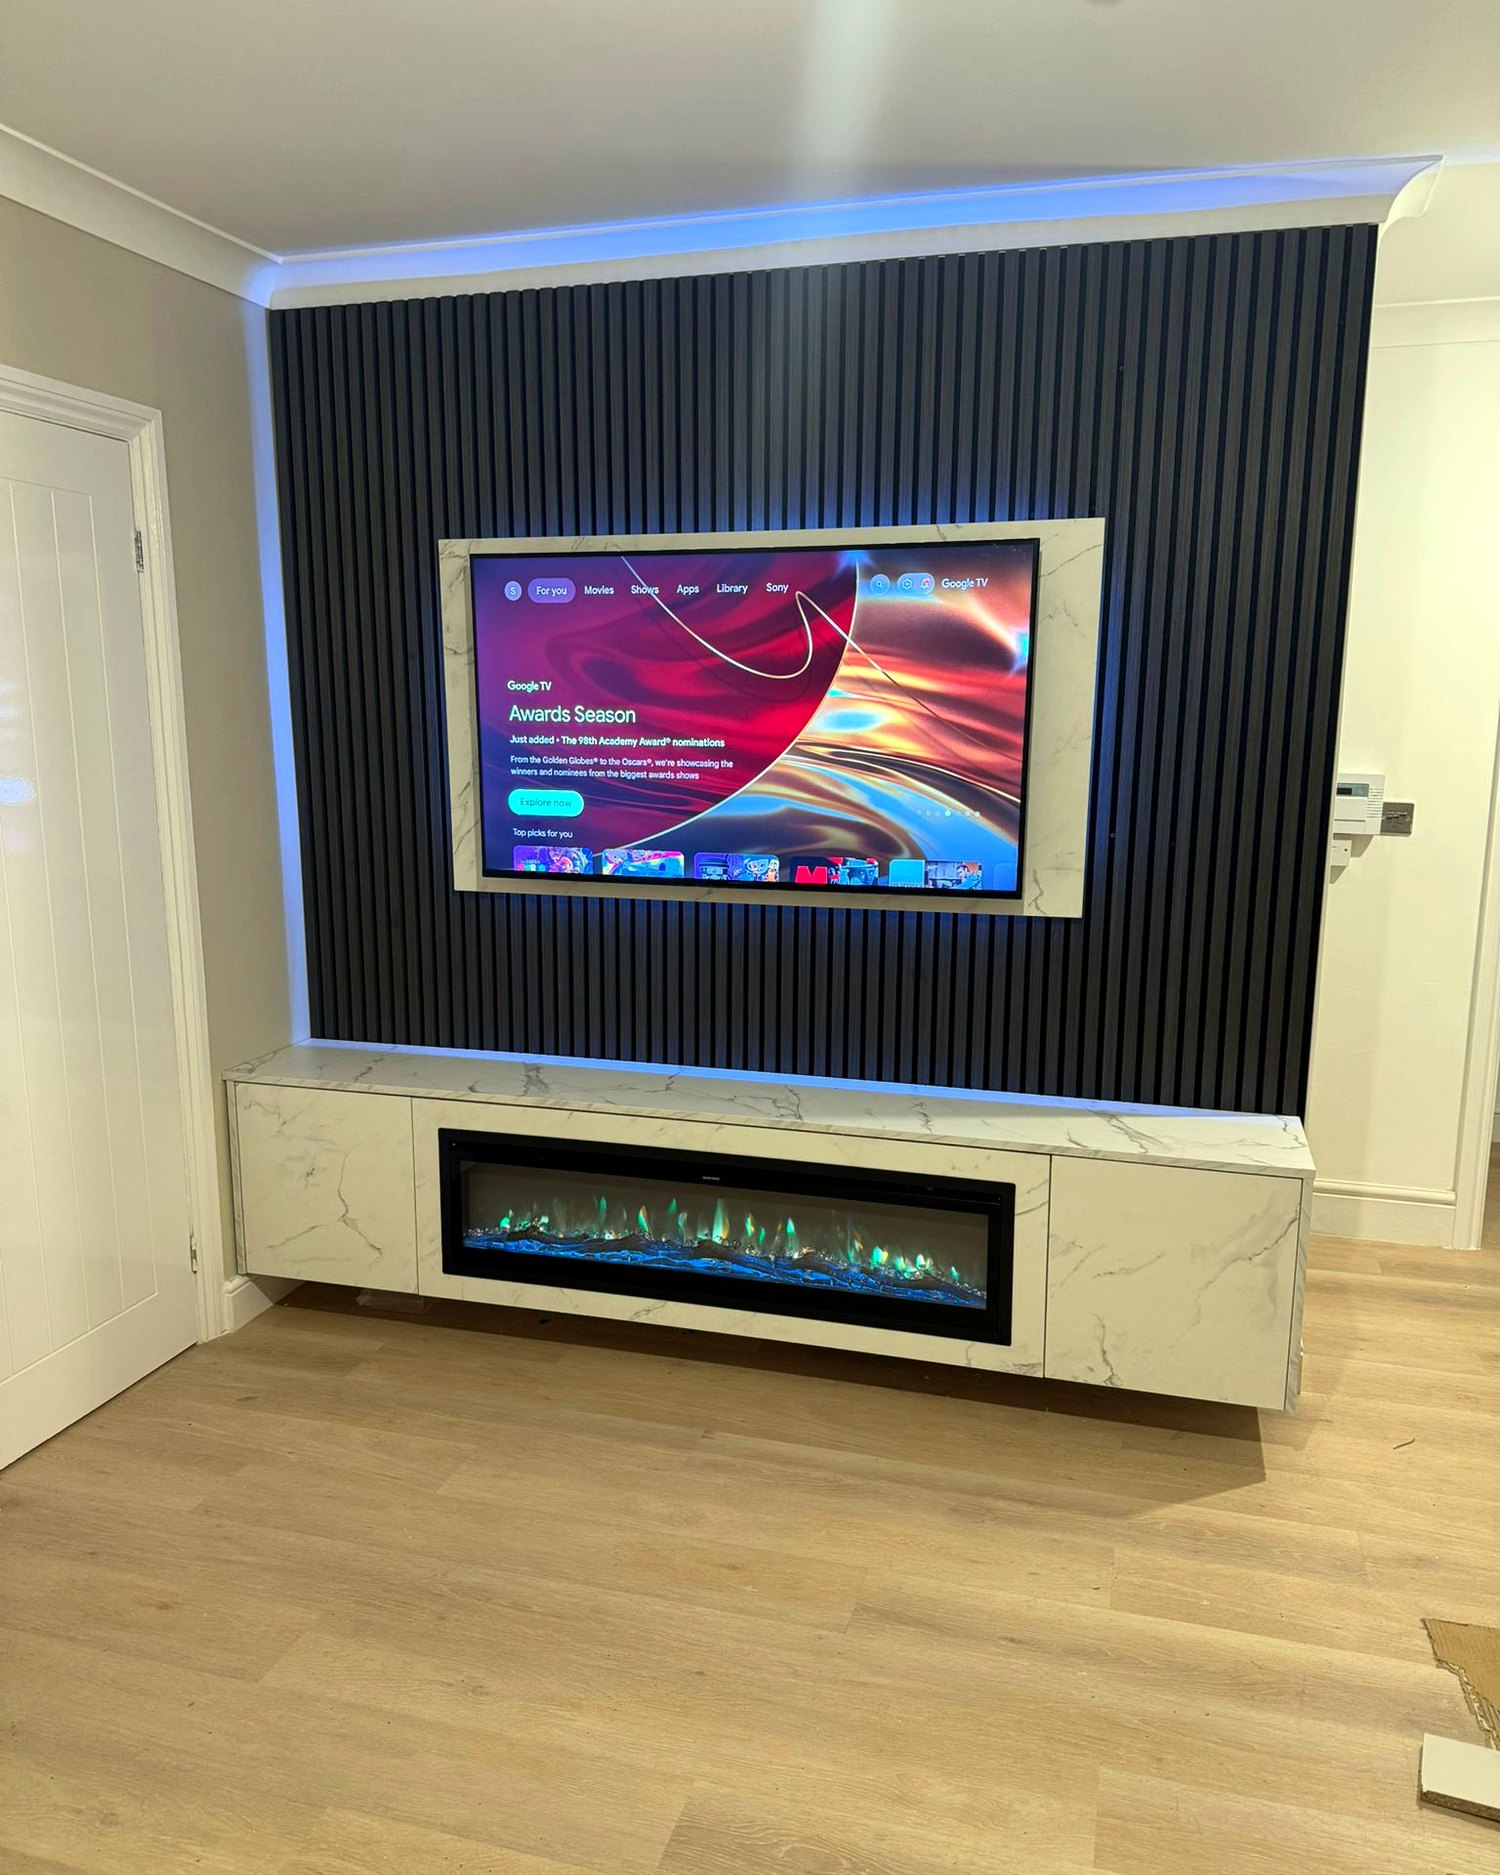
Media walls have gone from novelty to near-standard in five years, which means there is now a clear divide between the ones that were designed and the ones that were copied off social media. This is what we have learned from building them — what holds up, and what does not.
Layout ideas
1. Recess the screen properly, or do not recess it at all
A half-hearted recess — where the television sits slightly proud of the panelling — looks worse than a flush wall mount. If you are recessing, the aperture should be cut to your exact screen dimensions plus bracket clearance so the bezel sits truly flush. This is the single detail that separates a bespoke media wall from a joiner's approximation.
2. Use the alcoves either side of a chimney breast
If you have a chimney breast, filling both alcoves with matching cabinetry and running the panelling across the breast turns three awkward surfaces into one designed elevation. It is the highest-impact media wall you can build in a period property, and it uses space that was otherwise dead.
3. Float the lower cabinetry in small rooms
Lifting the base units clear of the floor makes a small lounge read as larger, because you can see floor continuing underneath. It also makes cleaning considerably easier. In rooms under about 3.5m wide, this is usually the right call.
4. Go wall-to-wall only if the wall is genuinely the focal point
Full-height, wall-to-wall installations give the most storage but dominate the room. They work beautifully in open-plan spaces where the media wall anchors one zone. In a small closed lounge they can feel oppressive — a partial run with breathing space either side often looks more expensive, not less.
5. Bridge over the top rather than stopping short
If you are running tall units, taking them to the ceiling with a bridging cupboard above the media bay looks deliberate. Stopping 300mm short of the ceiling creates a dust shelf and reads as an off-the-shelf compromise.
Finish and material ideas
6. Darker finishes disguise the screen
A black rectangle on a white wall is unavoidably a black rectangle. Against deep navy, charcoal or a dark green, the television visually recedes when switched off. This is the easiest win in media wall design and costs nothing extra.
7. Fluted and slatted panelling — with a caveat
Vertical fluting adds texture and shadow and photographs beautifully. Our caveat: it collects dust in the grooves and is fiddly to clean. Use it as a feature panel behind the screen rather than across every surface, and you get the effect without the maintenance.
8. Match or deliberately contrast the adjoining kitchen
In open-plan rooms, a media wall that shares the finish of the kitchen cabinetry makes the whole space read as one scheme. Alternatively, contrast hard — a dark media wall against a pale kitchen. What rarely works is almost matching: two similar-but-different greys look like a mistake.
9. Push-to-open beats visible handles here
Handles on a media wall interrupt the panelling and date faster than the cabinetry itself. Push-to-open fronts keep the elevation clean and let the fluting or grain run uninterrupted.
Integration ideas
10. Design the fire in from day one
Inset electric fires are the most requested addition and the most commonly botched. Clearances, heat output and the power supply position all need resolving before manufacture, not after. Retrofitting a fire into a finished media wall usually means rebuilding the centre section.
11. Ventilate the AV compartment
Sky boxes and games consoles generate real heat. A sealed cupboard shortens their life. Ventilated compartments with IR-friendly fronts mean the equipment runs cool and the remotes still work with the doors closed — which is the entire point of hiding them.
12. Light it indirectly, not at the screen
LED strips washing up the wall behind the panelling, or under the floating console, add depth without glare. Downlights aimed at the television are the most common lighting mistake we are asked to fix.
Three ideas we would talk you out of
- Colour-changing RGB lighting. It is fun for a fortnight. A fixed warm white ages far better and does not date the whole wall to a particular year.
- Mirrored or high-gloss panels directly behind the screen. They reflect the room and every window in it, which is distracting during anything you actually want to watch.
- Building around a specific television. Screens get replaced roughly every seven years and sizes creep upward. Design the aperture for the screen you have plus a sensible allowance, not a millimetre-perfect fit you cannot ever change.
Getting it built
Everything above assumes made-to-measure joinery, because walls are never square and the details that matter — flush recesses, hidden cabling, scribed edges — are only achievable when the units are built for the room. Our media walls page covers the three core layouts, finishes and the technical points we resolve before manufacture.
We design and install media walls throughout the UK, from our workshop in High Wycombe.
Frequently asked questions
Do media walls add value to a house?
A well-built media wall helps a room show better, which supports sale value, but it is not a guaranteed return in the way a kitchen or bathroom can be. The safer view is that it adds usable storage and improves how the room works day to day. Neutral, well-executed joinery appeals to more buyers than a heavily themed installation.
Can you put a media wall on a stud wall?
Yes, but the wall needs checking first. A stud wall can carry a media wall and a television provided units are fixed into studs or the wall is reinforced with noggins during installation. If an electric fire is being integrated, build-up depth and heat clearance need confirming before manufacture.
How deep does a media wall need to be?
Most are between 200mm and 400mm deep. A shallow panelled wall with a recessed screen and slim shelving works at 200–250mm. Housing AV equipment, an inset fire or deeper cupboards pushes it to 350–400mm. Depth is usually the main trade-off against floor space in smaller rooms.